VRer! Editorの基本操作(1)
当社では、新型コロナウイルス感染症の流行を受けて、VR空間上での VRer!展示会・イベント開催を支援するサービスの提供を開始しました。
■VRer! Editorの起動と画面の見方
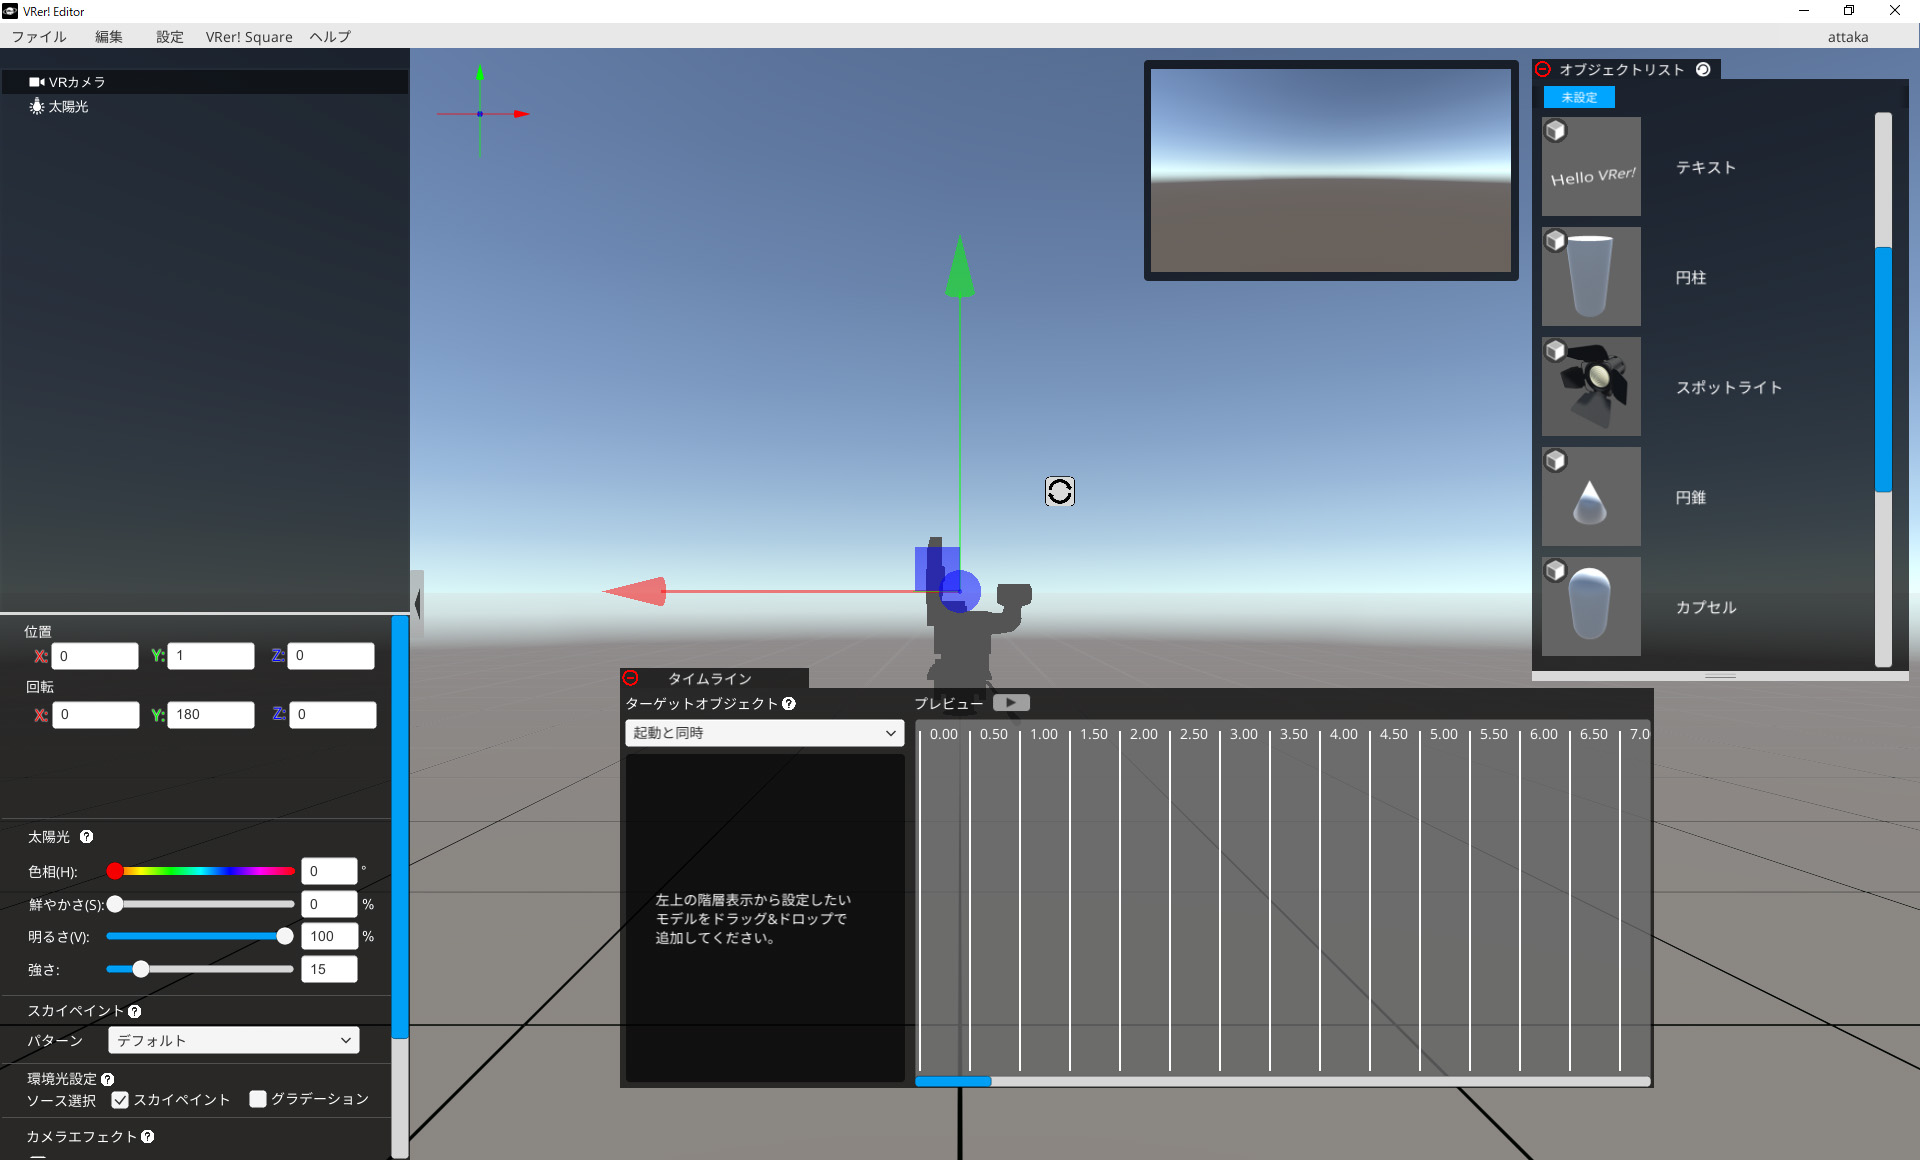
VRer! Editorを起動し、ログインすると上のような画面が表示されます。
まずは画面の見かたを解説します。
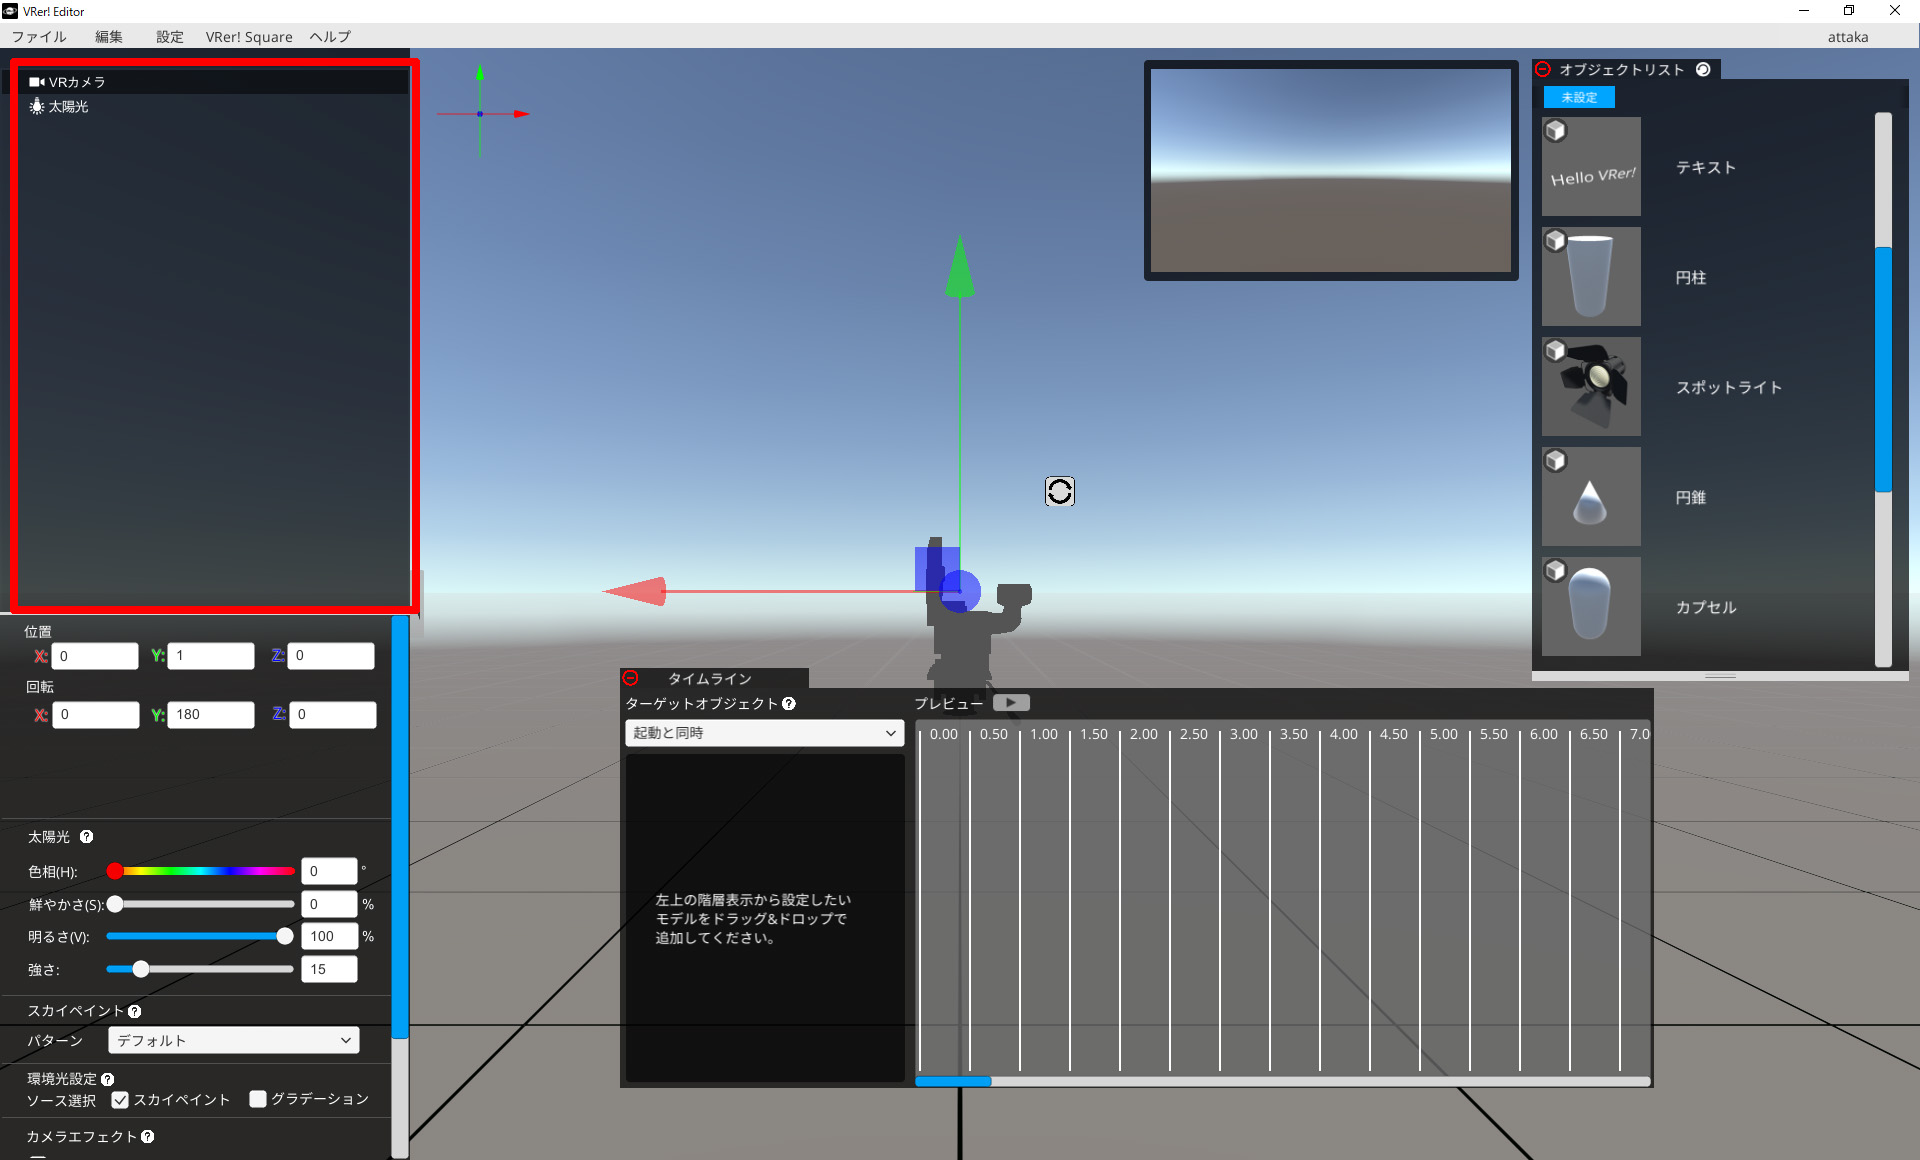
■カメラビュー

カメラから見える映像が表示されます。
VRer! Viwerでの視点であり、訪問者が見る視点となります。
■オブジェクトリスト
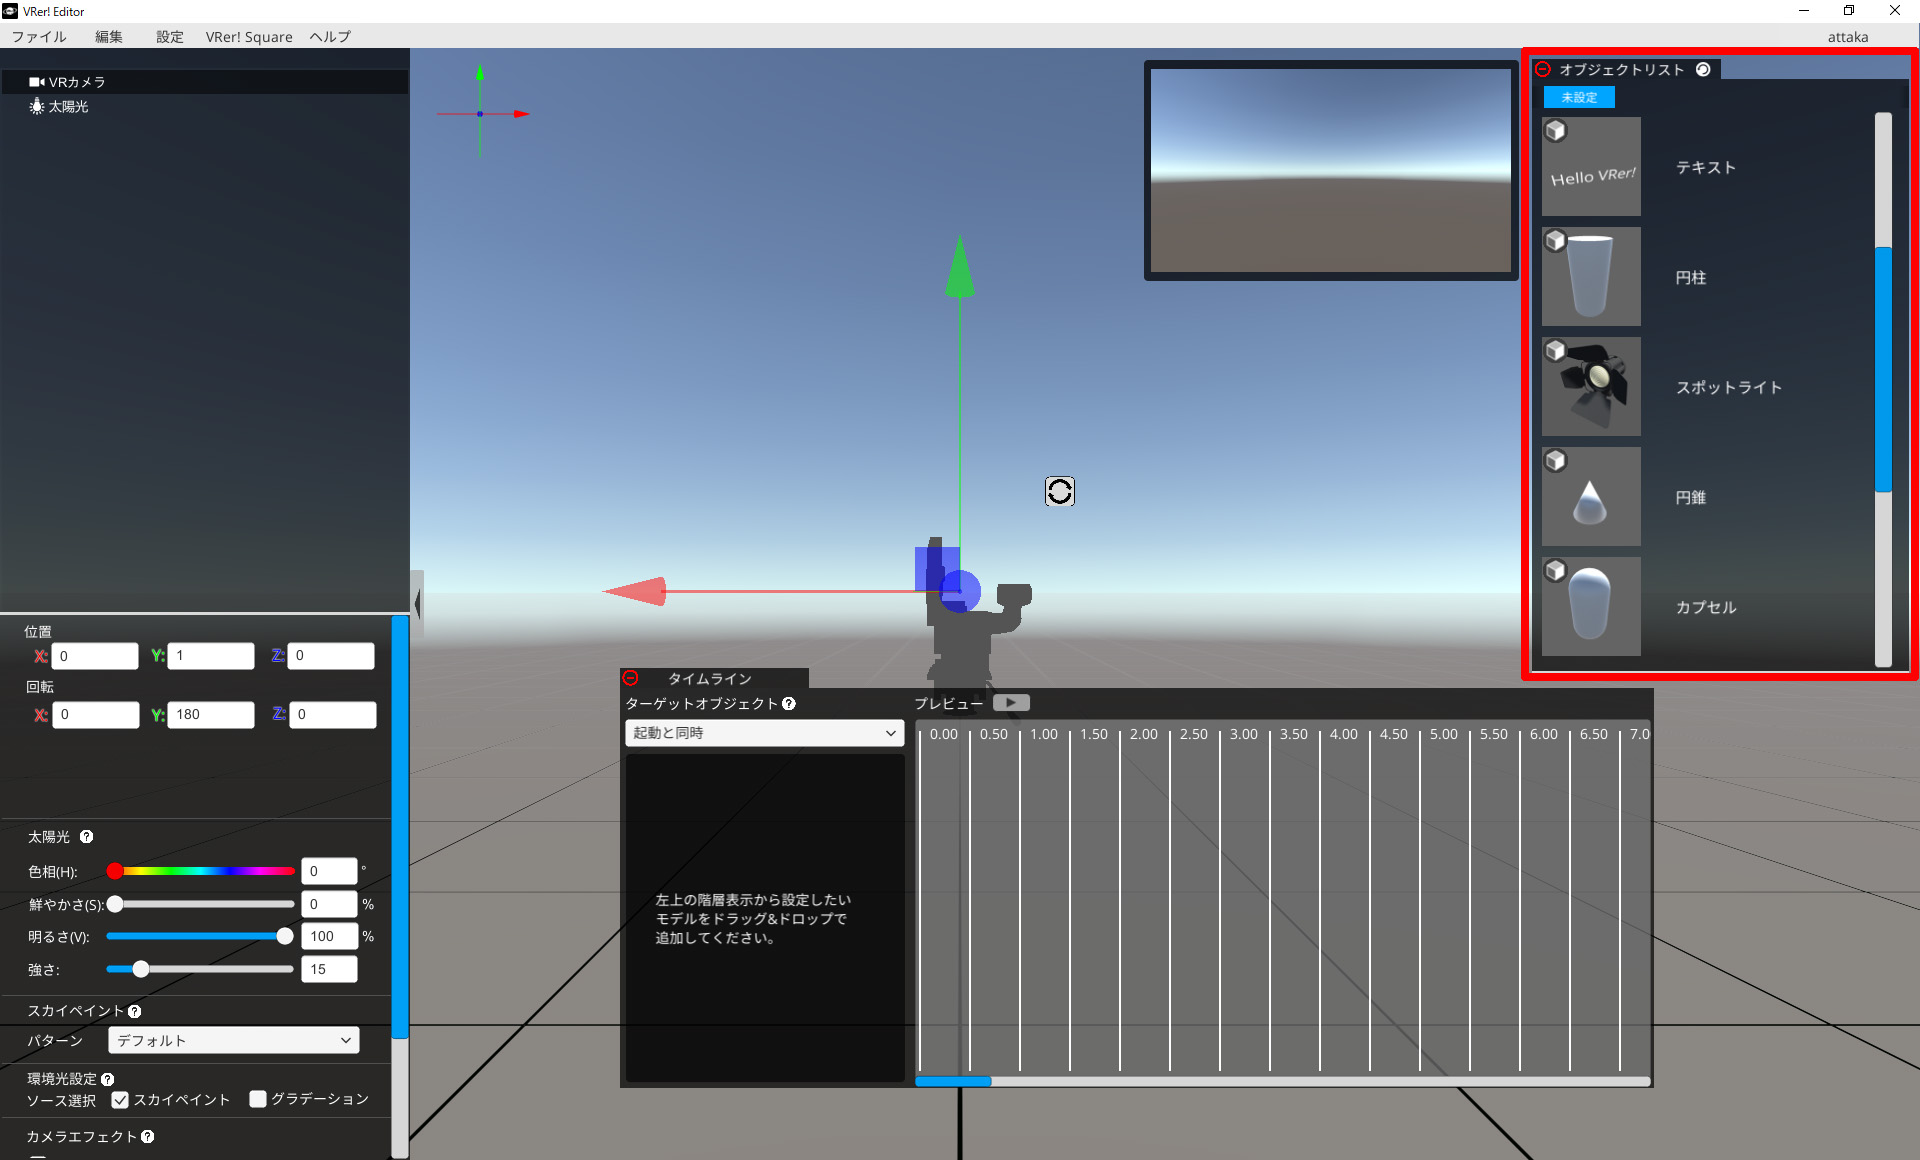
空間上に配置するオブジェクトのリストになります。
VRer! Square(別途解説予定)から、新しいオブジェクトを任意に追加できます。
■メニューパネル
オブジェクトリスから空間上に追加したオブジェクトが羅列されます。
カメラと太陽光はデフォルトで配置されます。
■オブジェクトの位置・回転・サイズ

選択したオブジェクトの位置や向き、サイズを変更することができます。
カメラビューを確認しながら操作しましょう。
■オブジェクトのタイムライン
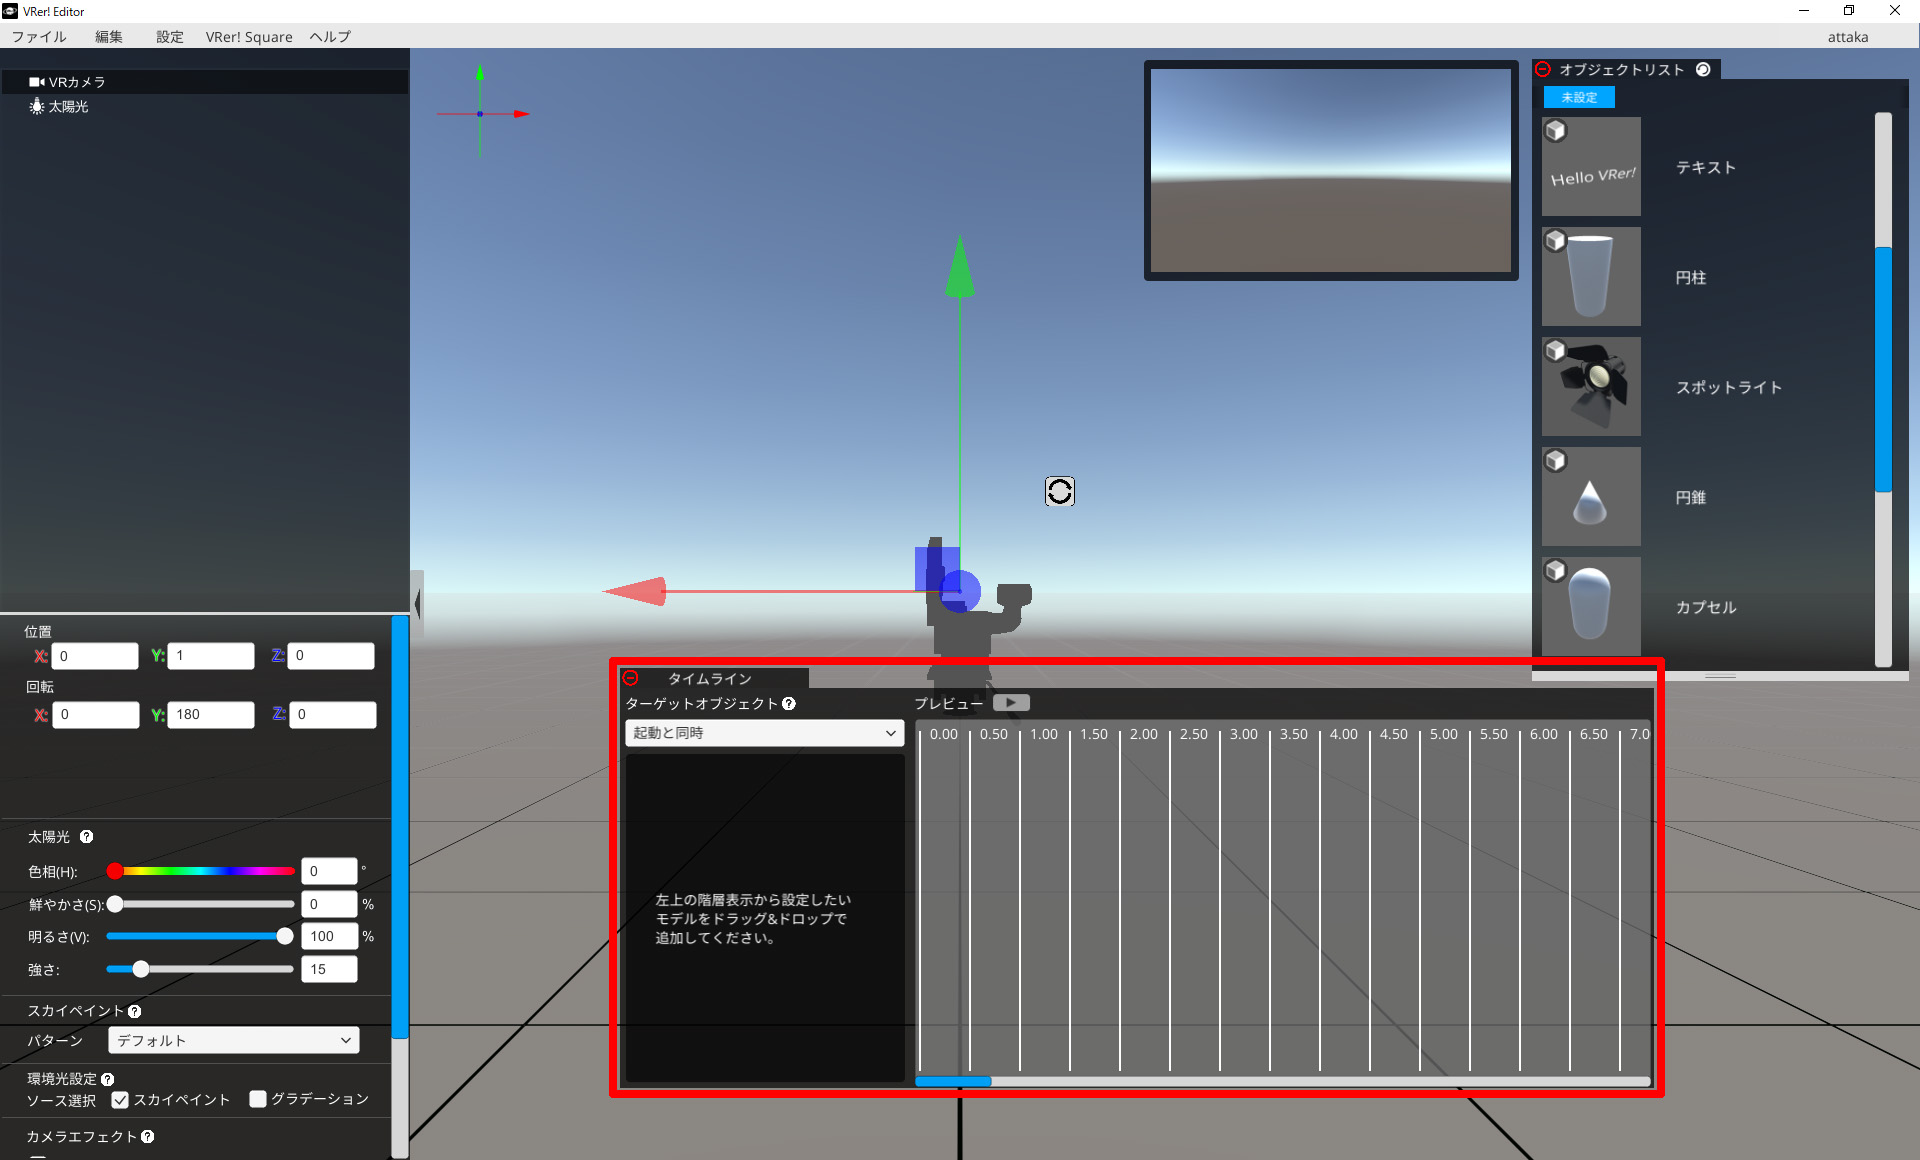
オブジェクトの動作を設定できます。
オブジェクトの移動や拡大縮小、アニメーションなど注視時・タップ時の動作の設定をします。
音声の再生や任意のウェブページにリンクすることもできます。
本記事ではVRer!の画面の見かたをお伝えしました。
新日本工業株式会社では、VRer!空間の設計から制作まで、ウェビナーのソフト・ハードのノウハウから運用のコツまでご提供いたします。
少しでもご興味がありましたら次のページもご覧ください。
VRer!展示会・イベントサービスについて
ウェビナーサポートサービスについて
お問合せ